The ultimate guide to polishing Perspex®
Published on: 11/08/2023
Acrylic, better known in the UK as brand name Perspex® or PlexiGlass®, is an extremely versatile plastic that can be used for a wide range of applications including signage, point-of-sale displays, greenhouse glazing and lighting. In addition to it’s versatility Perspex® is also extremely lightweight and even more translucent and impact resistant than traditional glass. One reason Perspex® is so widely used for many applications is because it is typically far easier to machine, cut and process than glass. Most commonly when Perspex is cut, whether using a table/panel saw or router the edges are left cloudy and rough - in many applications the aesthetics of a clear, shiny edge are very important. In this article we’ll look at four different methods of polishing Perspex®.
Setting the scene
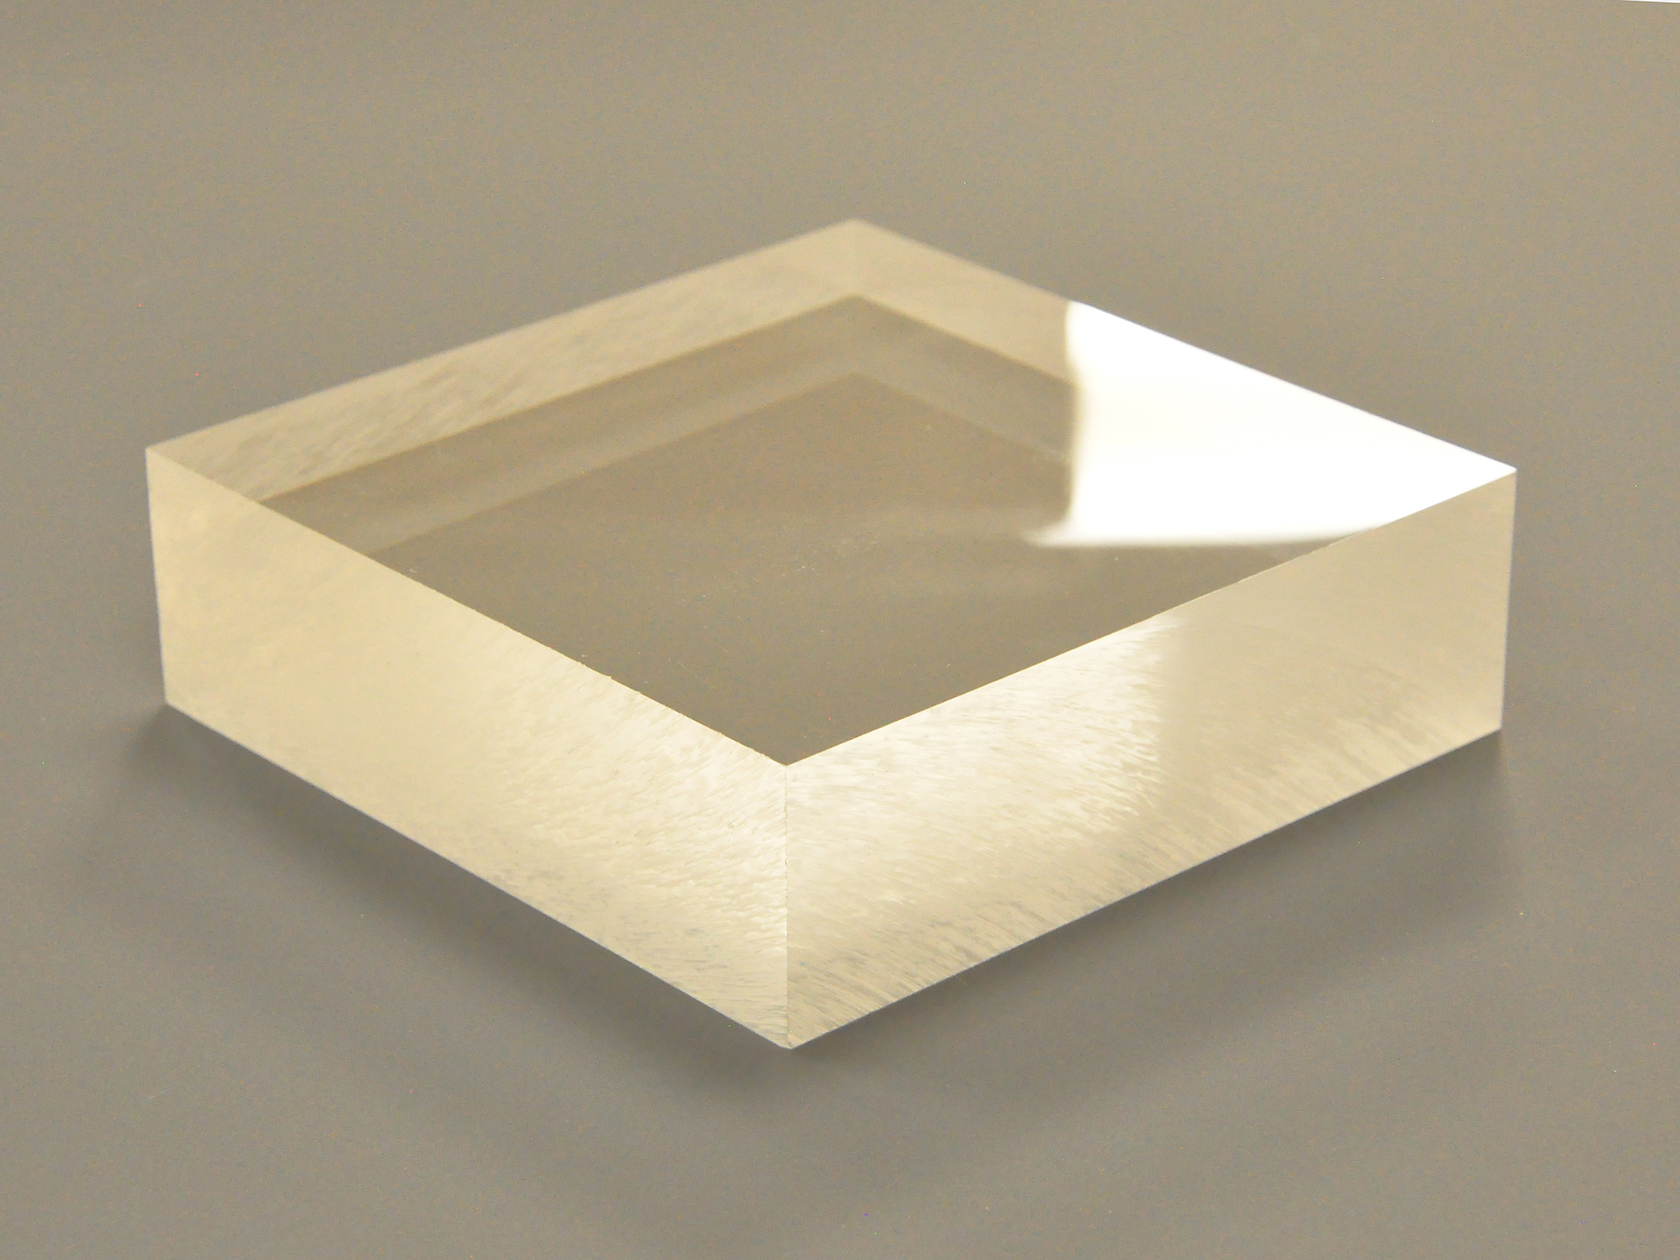
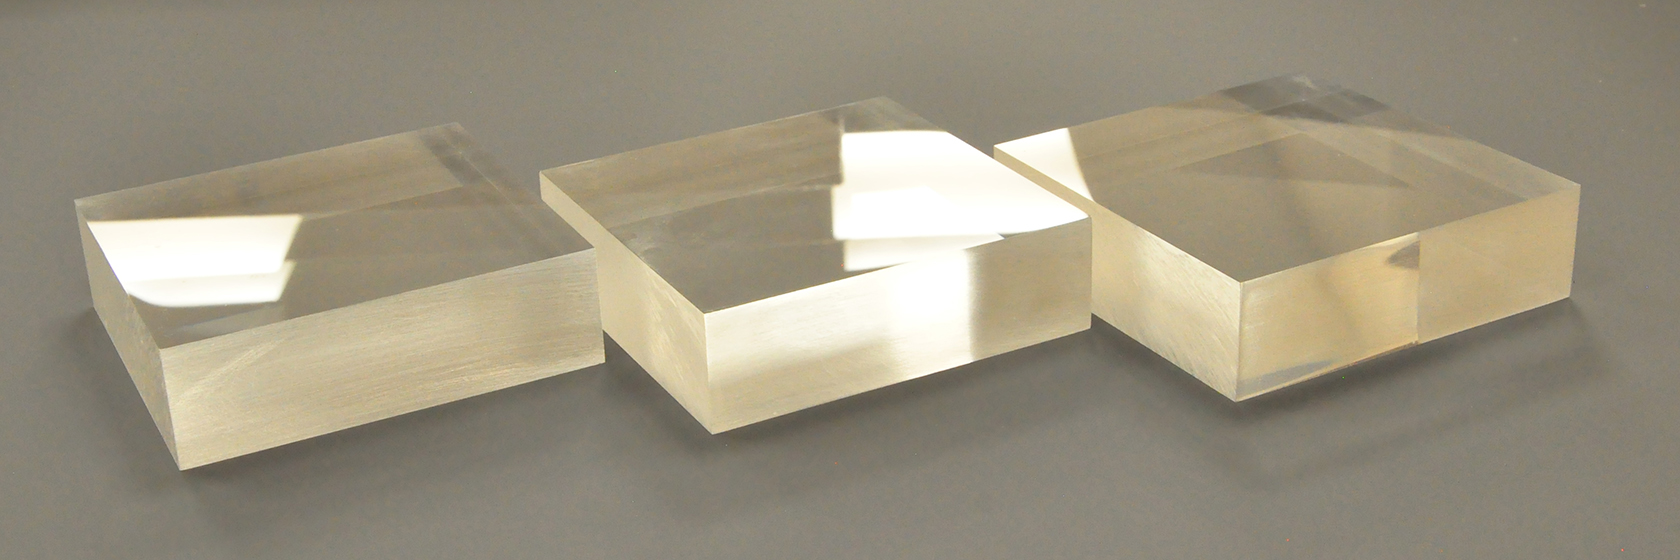
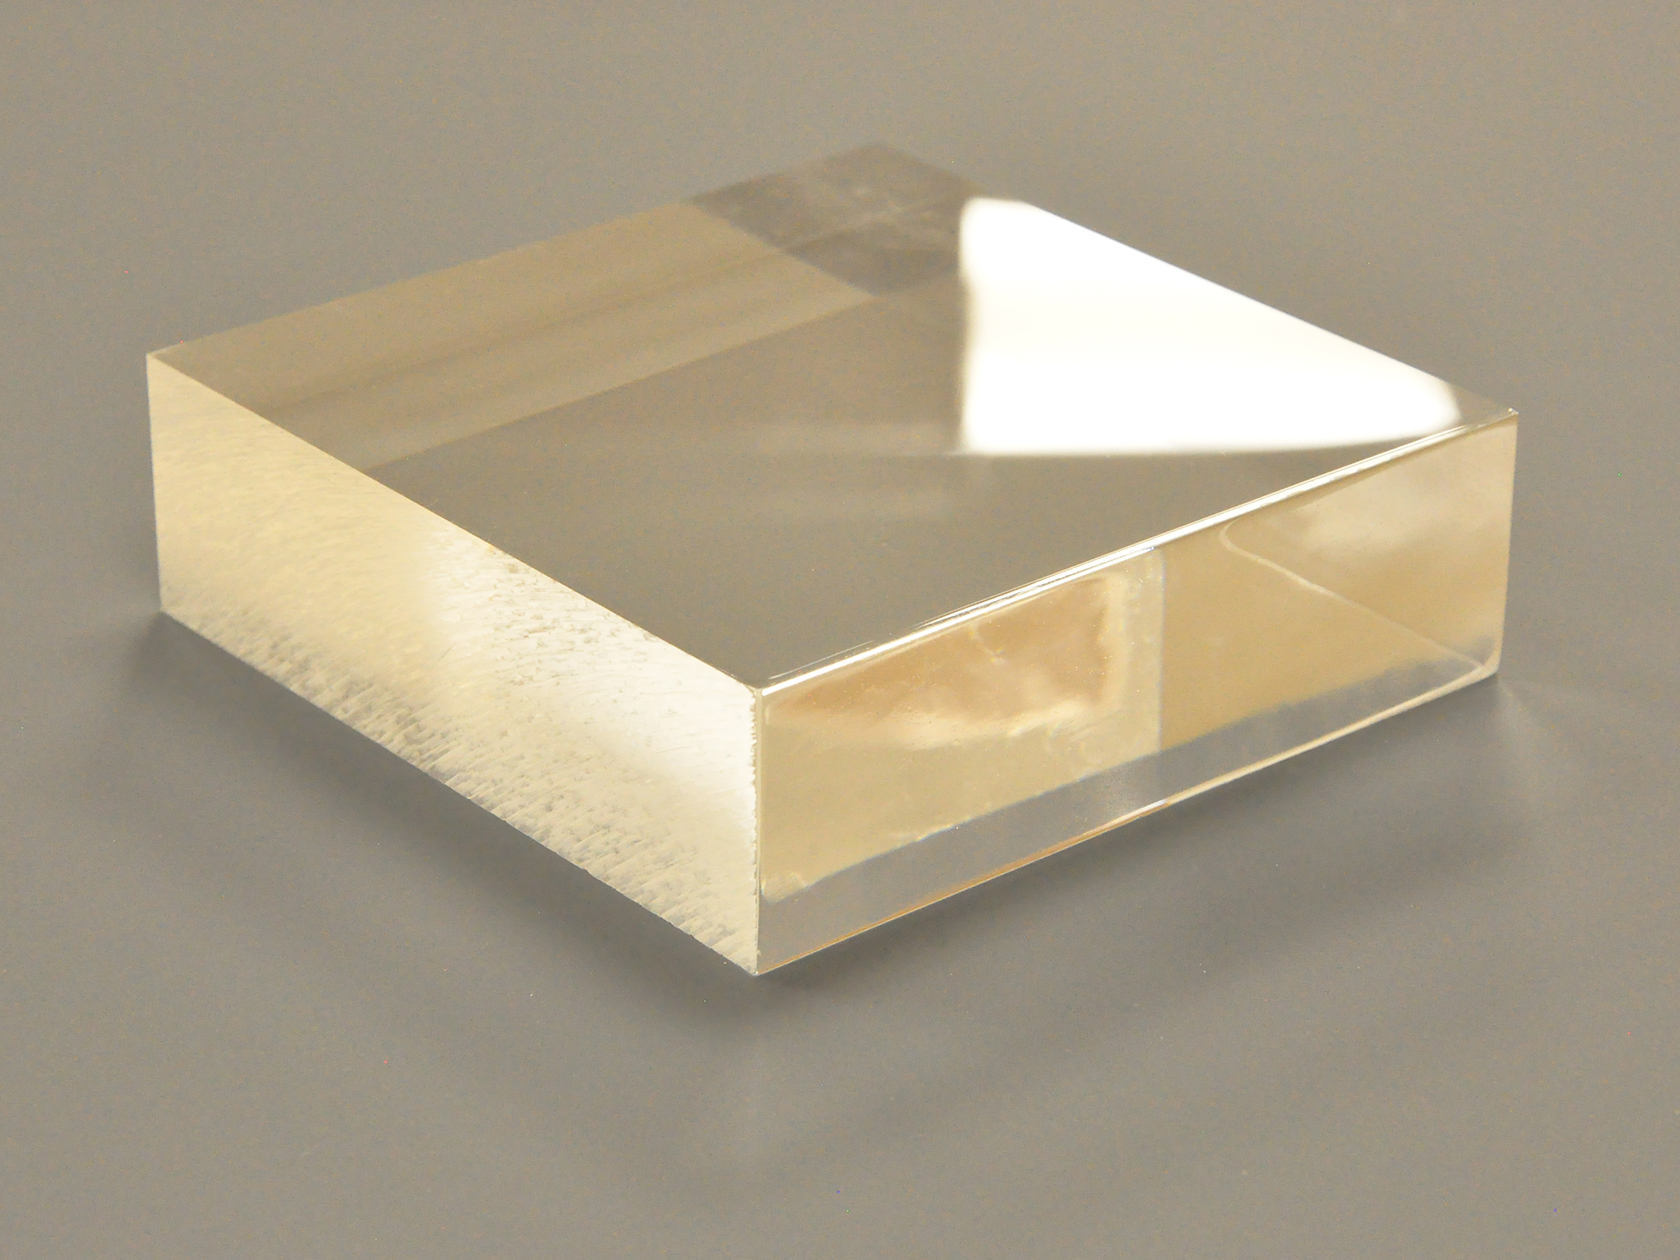
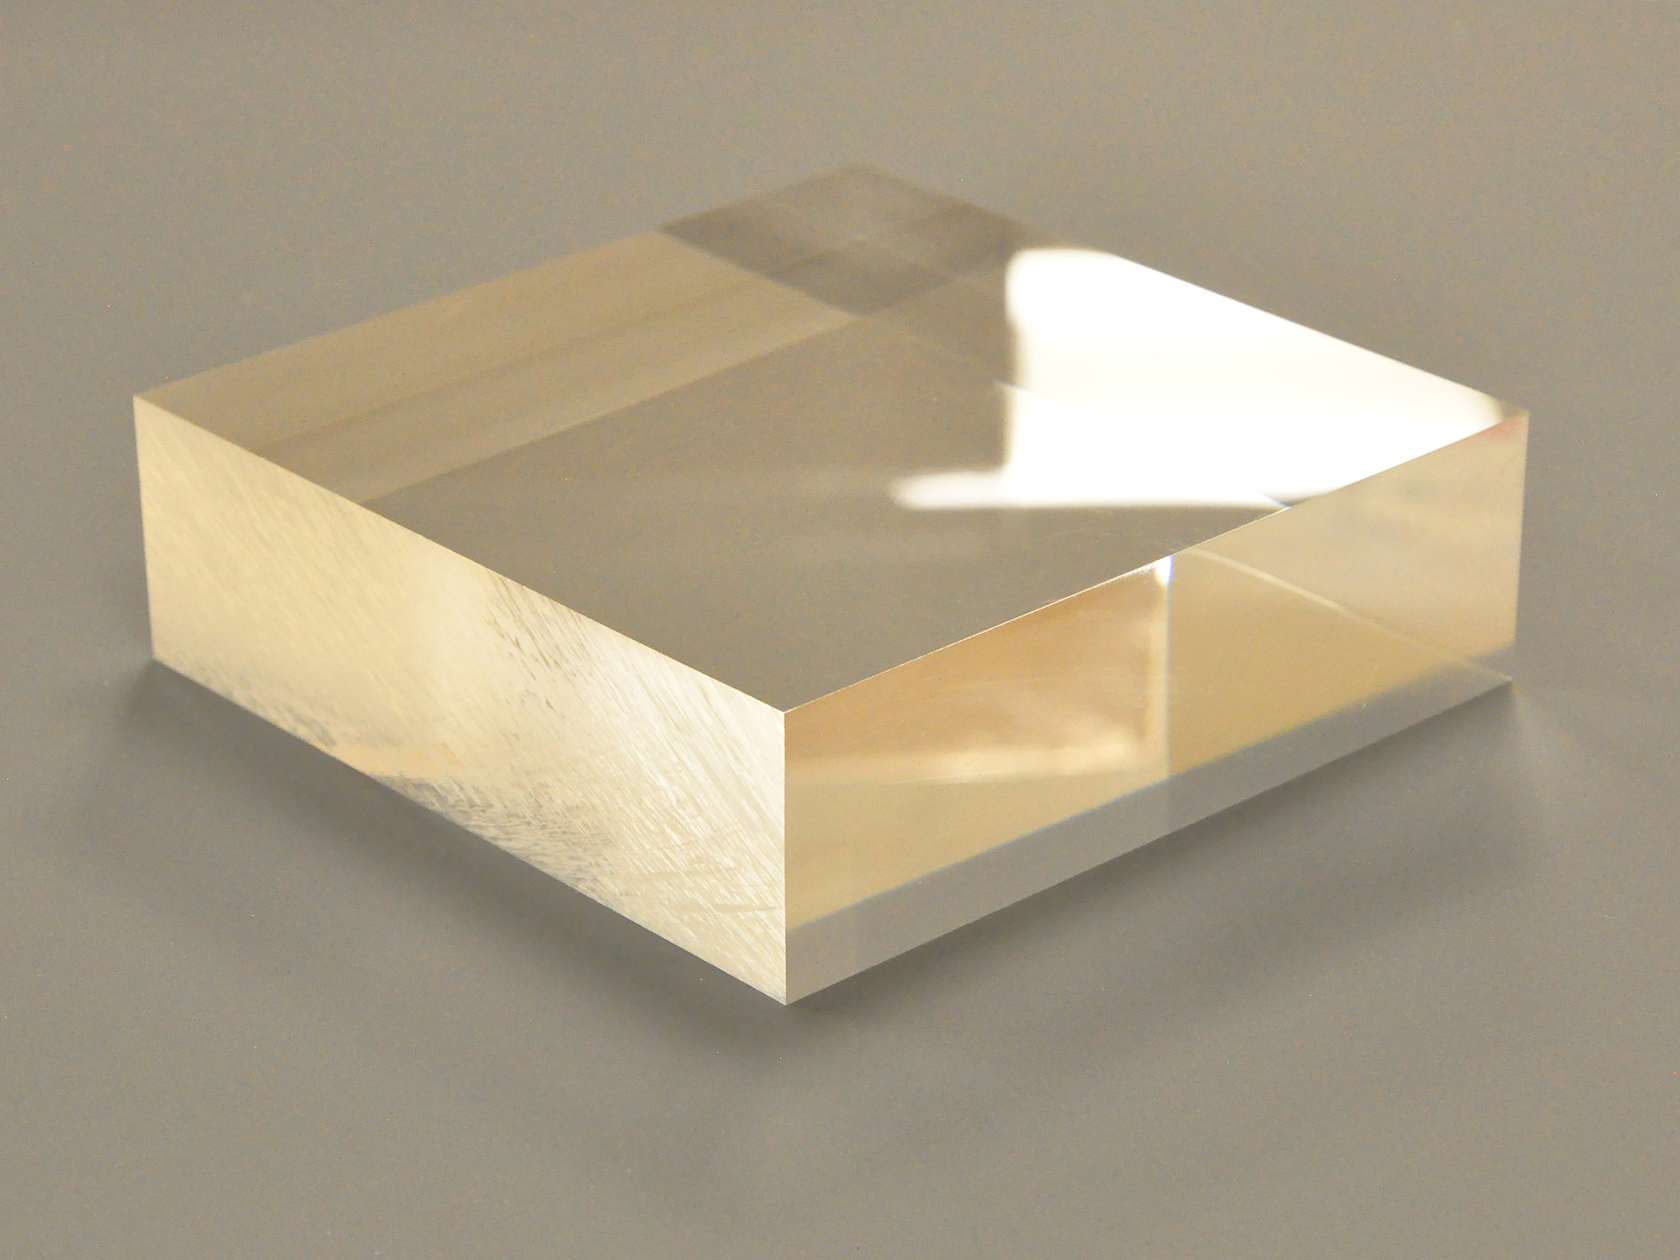
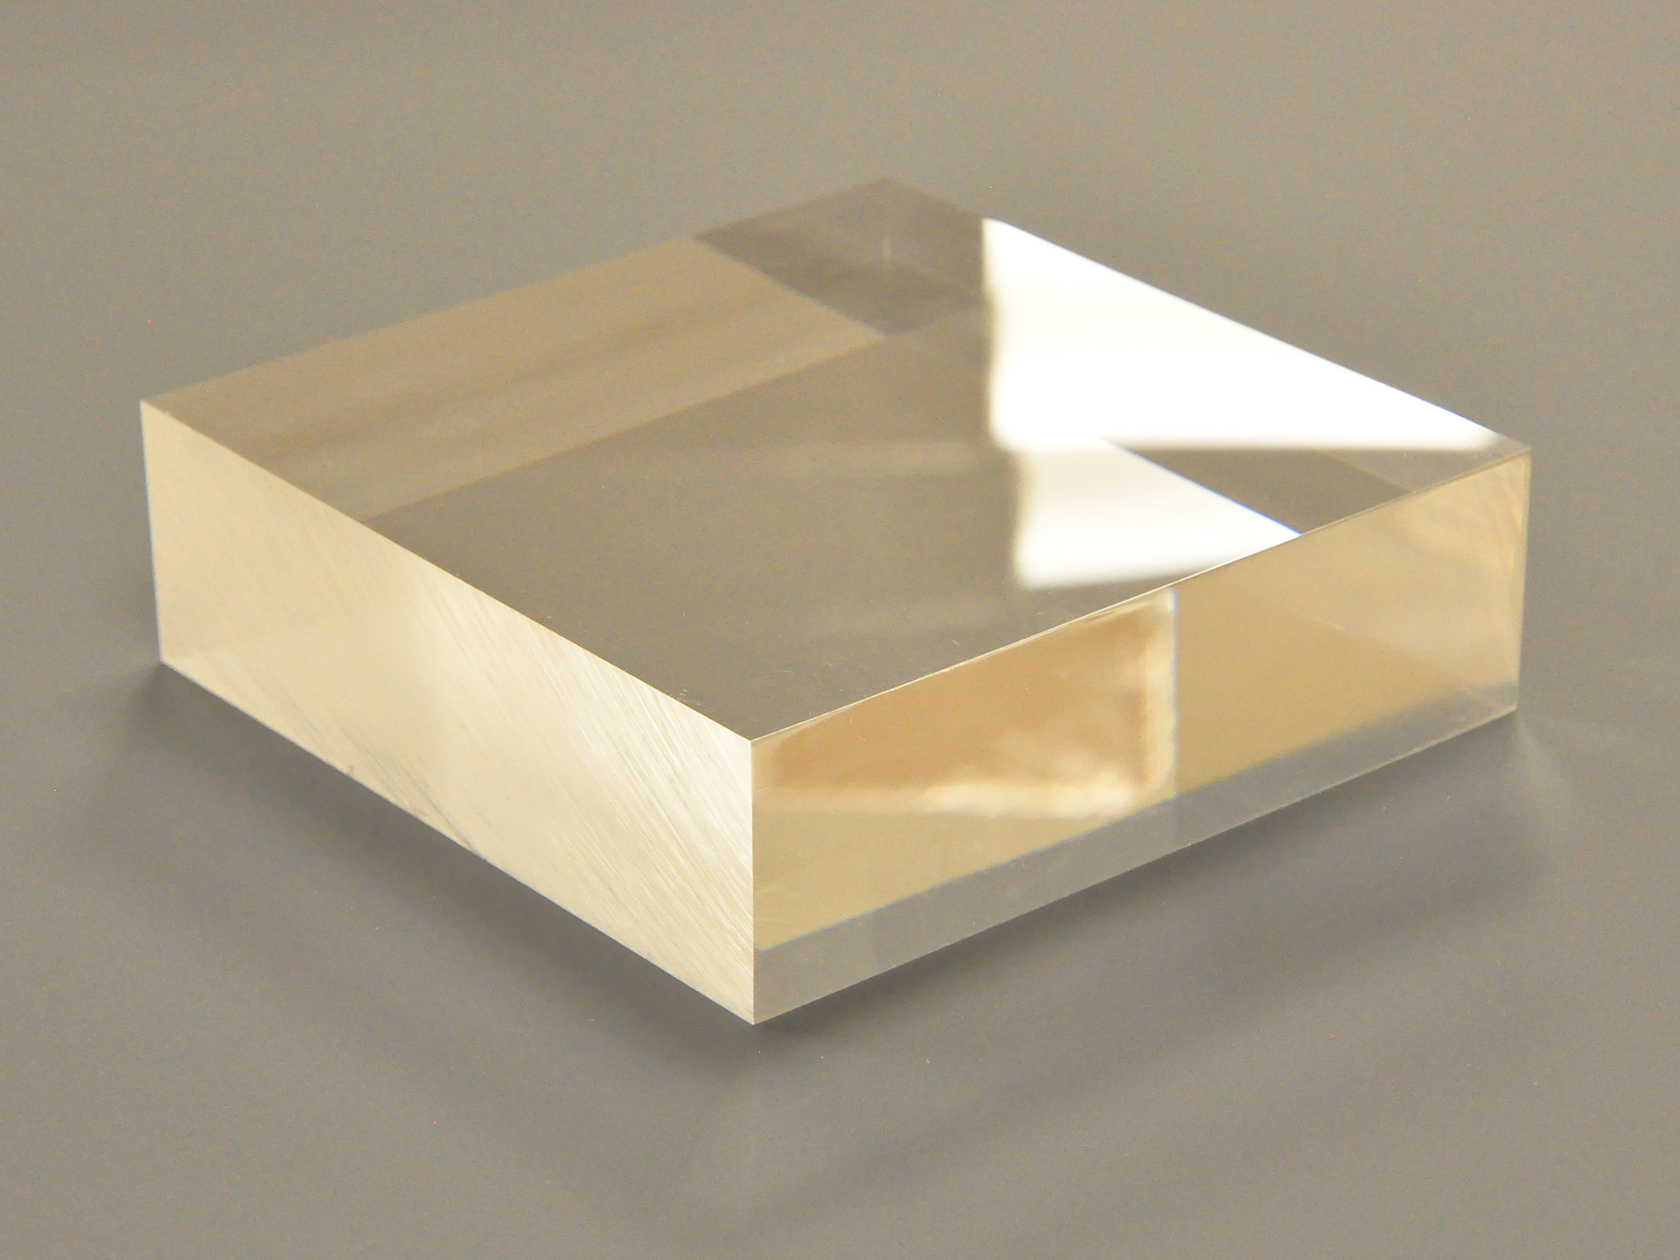
Within this article we’re going to show and tell a series of polishing methods using 30mm thick clear Perspex blocks - which is the best material to capture images of during the demonstration and results process. Each of the four blocks will be cut on our SCM Sliding Table Panel Saws. We will use a blade with adapted teeth, configured by our technicians for the best results when cutting Perspex®. An example of the saw cut finish is shown below.
Wet & Dry
Wet and Dry is perhaps the easiest and most accessible method for most end-users. This method requires little more than sandpaper with various levels of grit and some water or cutting compound (see Osborn Unipol Plastic Polish). The ‘wet’ in wet and dry i.e. the water, is important because it acts as a lubricant to wash away grit particles. Without the lubricant the sandpaper, and the material being sanded, will heat up therefore resulting in material building up on the sandpaper and causing scratches that ruin the finish.
These are the steps we recommend you follow:
Step 1 – start by sanding the edges of your Perspex with a coarse grit sandpaper, somewhere in the region of 180. If the material being sanded is extremely rough it may be necessary to start with a lower grit sandpaper.
Step 2 – once the worst of the rough edges and or saw marks have been removed change to sandpaper with a grit level in the region of 320 – 360. Remembering to rinse your sandpaper regularly, sand the material until all major scratches and imperfections have been removed.
Step 3 – continue to sand, this time with a grit level of 1200 or higher until a clear, polished finish is achieved. If there are still fine surface scratches consider using a higher git level sandpaper, or use a finishing compound such as Unipol Plastic Polish.
Pros and Cons of using Wet and Dry to polish Perspex®
Pros
- No expensive machinery required
- Cheap outlay on materials for sanding
- Doesn’t require any significant experience
Cons
- Takes a long time to achieve machine equivalent results’
- Only suitable for small surface areas
- Not practical/economical for commercial purposes
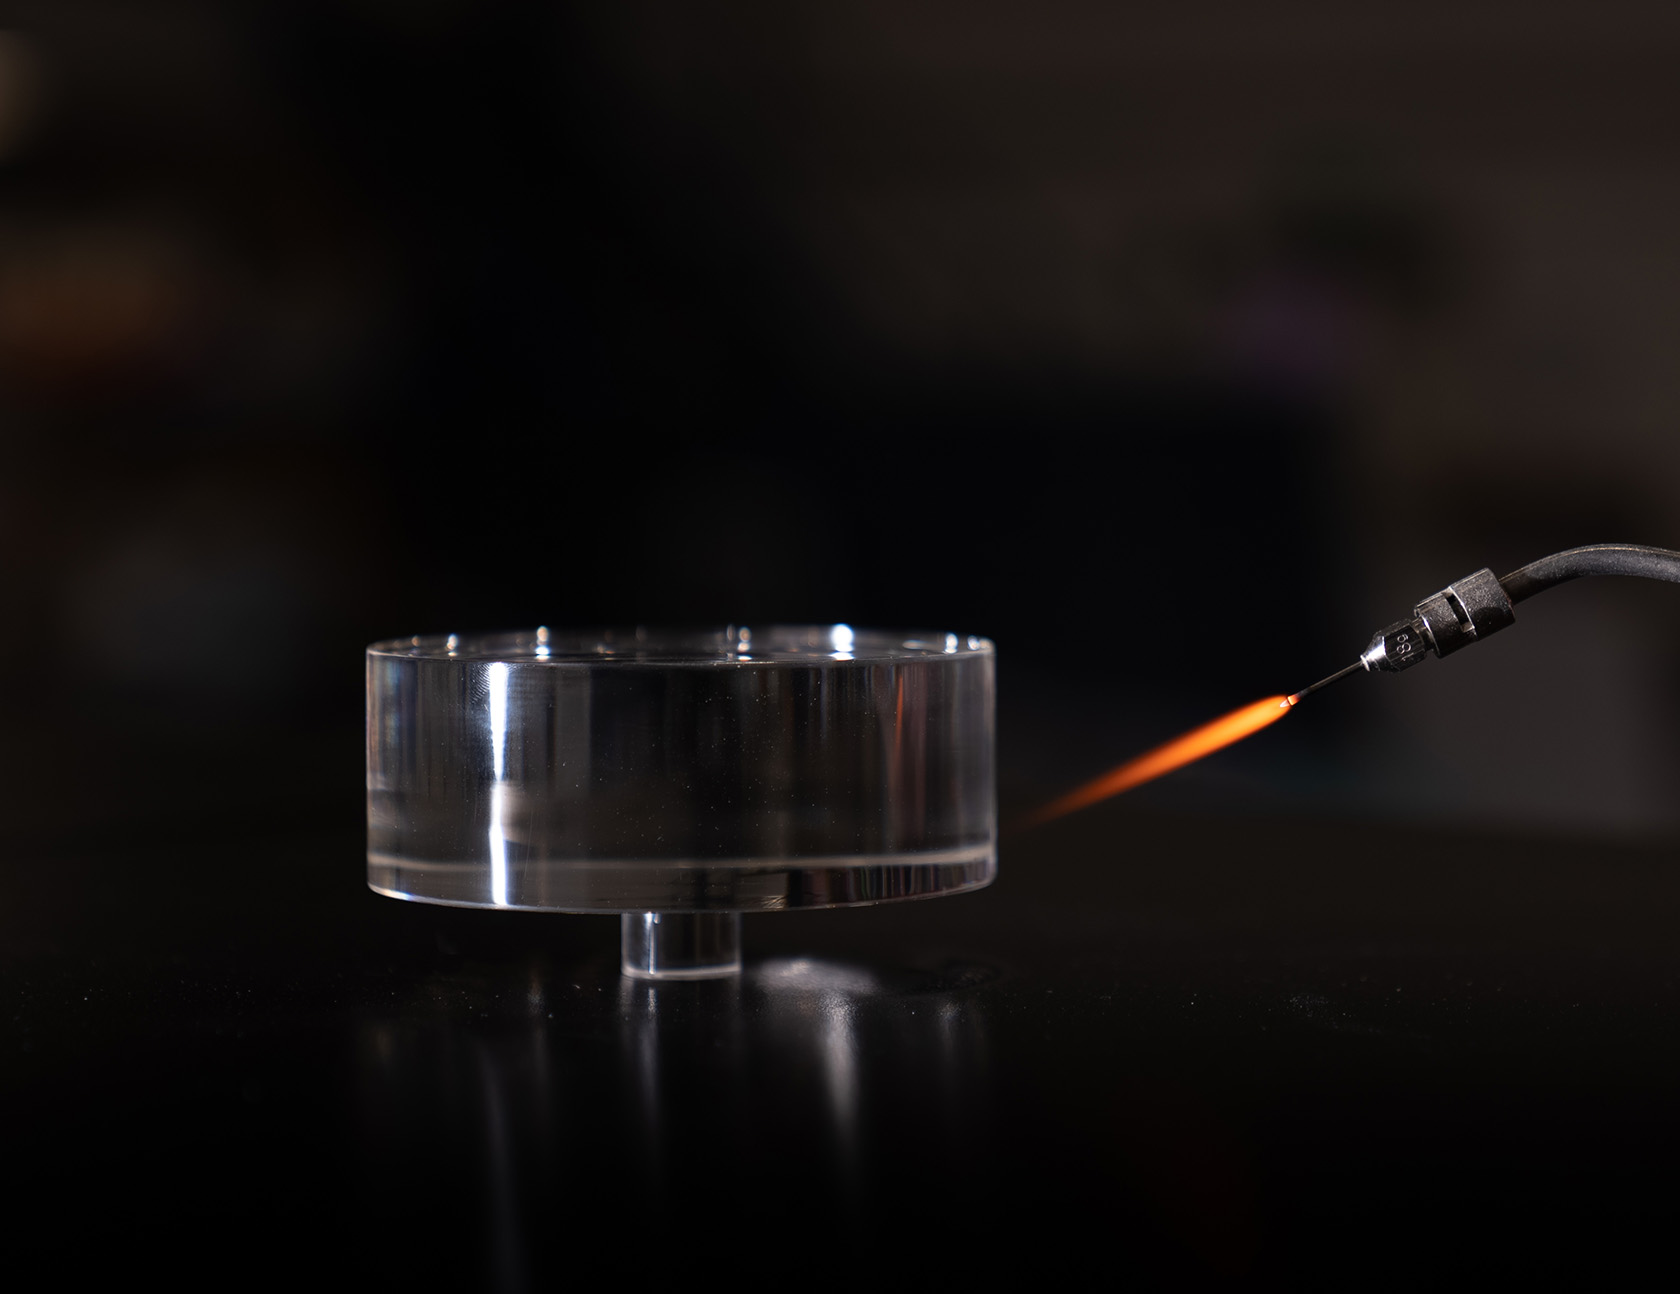
Flame Polishing
Flame polishing is the process of applying heat in the form of a flame to the edge of Perspex® until it starts to melt, leaving a clear polished edge. Flame polishing equipment uses electrolysis to produce an oxyhydrogen flame at about 1850 degrees centigrade. The machine uses electrolytes, MEK (Methyl Ethyl Ketone) and deionised water mixed together to produce a gas flame on demand.
Most of the time once Perspex has been cut to size on a table/panel saw it will still require some light sanding before it can be flame polished, however we have found that routing Perspex® with our Multicam 3R CNC routers in conjunction with superior quality toolbits leaves a sufficient finish to be immediately flame polished.
Flame polishers are not a replacement for automated Diamond Polishers (more on Diamond Polishing later in this article), for a number of reasons:
- Slower than a diamond polisher
- Not practical/economical when hundreds of parts require polishing
- Not all colours react well with heat – certain acrylic colours may turn a slightly milky white colour under heat
However, in other areas flame polishers have distinct advantages over Diamond polishers because it is possible to polish curved edges, internal sections and irregular shapes all of which are difficult to achieve with traditional diamond polishers. A good Perspex® supplier/fabricator should have both diamond and flame polishing machines within their plant - we have a whole section dedicated to our industry leading fabrication capabilities.
Pros and Cons of using Flame Polishing to polish Perspex®
Pros
- Possible to polish curved edges and irregular shapes
- Relatively low investment into equipment
- Equipment is small and portable
Cons
- Slow compared to diamond polishers which can polish multiple parts simultaneously
- Requires some light pre-sanding
- Best suited to clear Perspex because it doesn’t react well with all colours of acrylic
- Requires safe storage of some potentially harmful chemicals
- There is a high chance of crazing if you intend to glue flame polished edges
NOTE: Flame polishing can be potentially dangerous unless using certified equipment, the operator has been provided with adequate training and the machine is being operated in a safe environment in accordance with both Health & Safety and the manufacturers guidelines.
Diamond Polishing
Perspex® Diamond Polishing provides the defacto standard for transparency, clarity and gloss when it comes to polishing Perspex®. The significant difference between Diamond polishers and the two methods previously described is that to produce a high quality finish diamond polishers remove material, generally cutting away approximately 0.5mm of material from each edge.
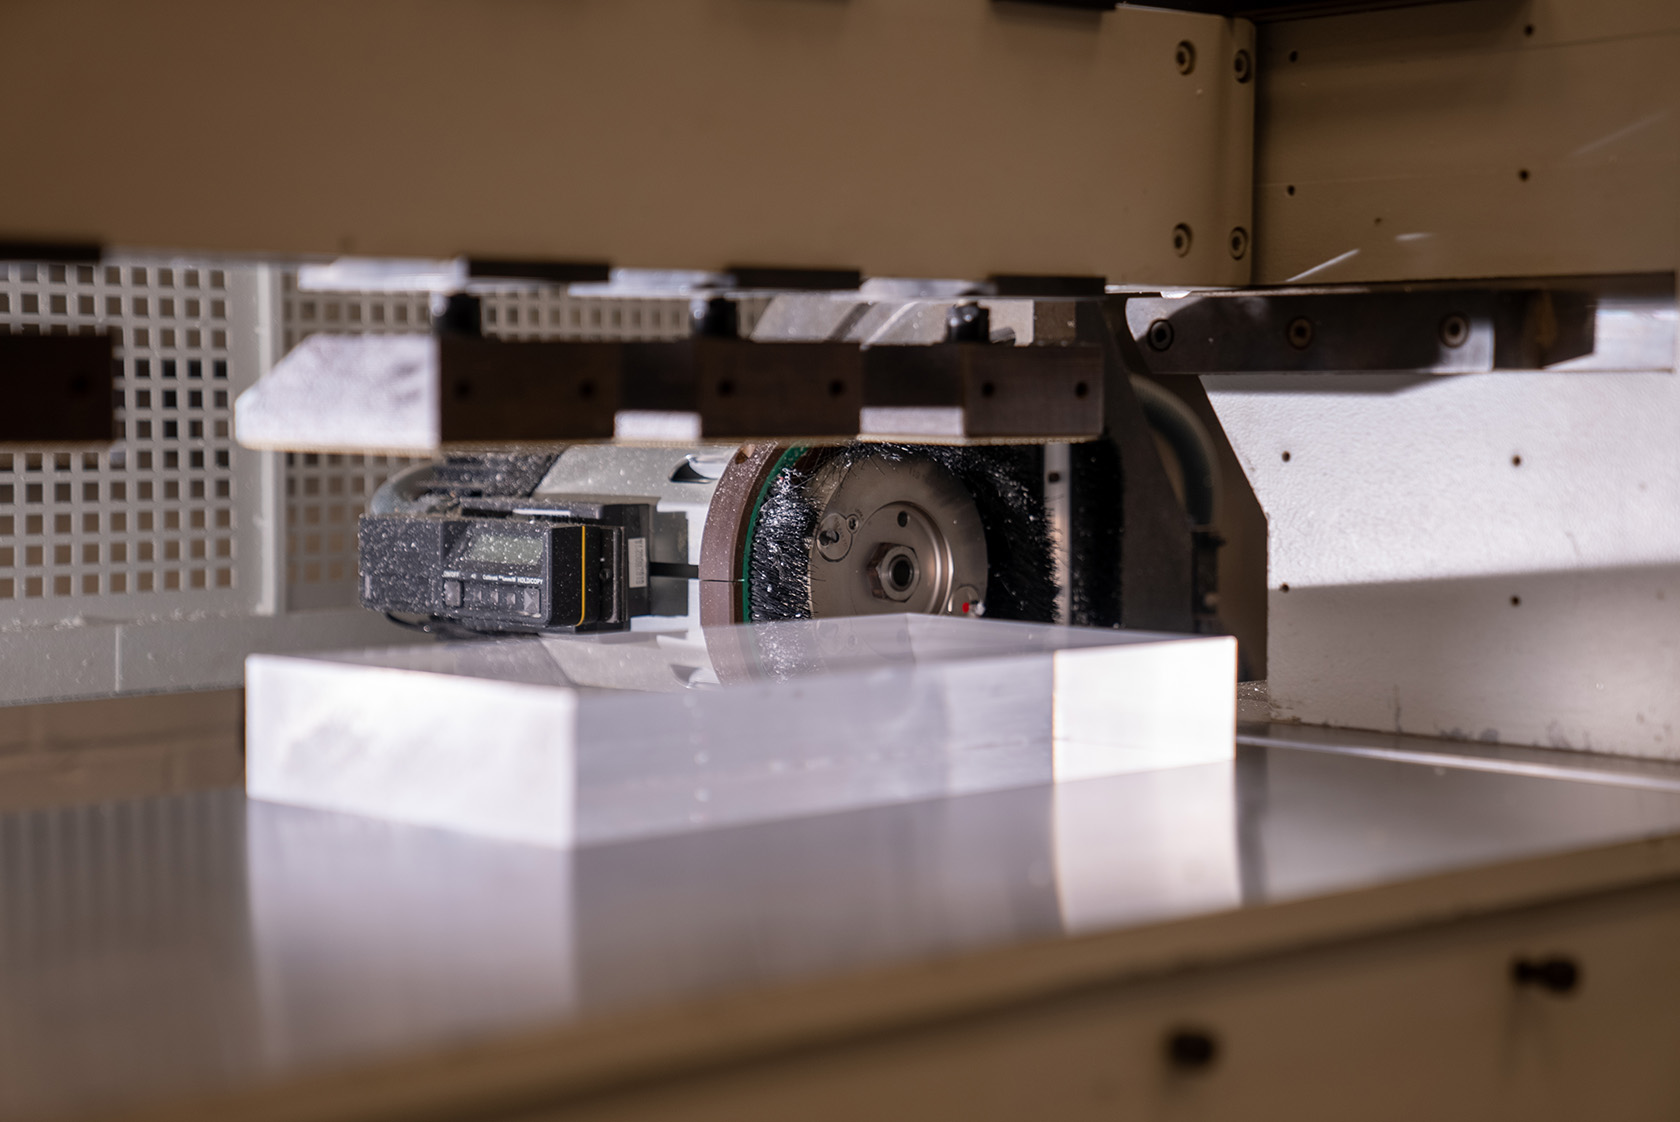
The process of diamond polishing Perspex® is best described in a series of steps:
- Perspex panels are placed on the machines bed and butted up against the backplate. A series of pneumatic clamps hold the panels down securely
- A milling motor houses two cutters – one prefinisher that removes the majority of the material, and the second a diamond tipped finisher that provides the high gloss finish
- The milling motor is connected to a series of circulating ball screws which forces the motor to travel down the axis of the machine via a lead screw
- The milling motor rotates between 5,000 to 10,000RPM
- As the cutters mounted in the milling motor make contact with the Perspex panels they cut a pre-defined amount from the edge of the panels, one cutter removing the material, the other providing the polished finish
- Once the milling motor reaches the end of the bed it stops spinning and returns to it’s resting position
One of the huge advantages that a diamond polishing machine has over the other methods discussed in this article is that it is possible to secure multiple panels along the axis of the bed, and to stack multiple panels on top of each other - this makes it possible to process infinitely more material simultaneously compared to any other method.
Pros and Cons of using Diamond Polishing to polish Perspex®
Pros
- It is possible to simultaneously process more material than any other method
- Safety gates and infrared trip sensors make it extremely safe to operate
- Delivers the highest levels of transparency, clarity and gloss of any Perspex® polishing method
- Delivers repeatable results every time
- Possible to edge polish and bevel on the same machine
- Delivers the same high quality finish on all colours of Perspex®
- With the right cutters, it is possible to polish multiple materials such as Perspex®, Polycarbonate and PETg
Cons
- Significant investment in equipment and machinery
Buffing
Buffing Perspex® is a very simple process that involves gently rubbing the edge of a Perspex panel against a mop/buffing wheel. Much like flame polishing, the edge of the Perspex® has to be reasonably free of machining marks or rough patches if you are to achieve a perfect finish. Our technicians tend to use buffing as a finishing option, once a panel/part has been diamond or flame polished – it provides additional gloss and transparency but won’t remove significant scratches or machining marks.
Our buffing wheel is a fully restored W Canning from the 1970’s which are very sought after machines. To add that extra gloss and shine our technicians use a wax/soap like compound that contains extremely fine polishing compound.
Pros and Cons of using a buffing wheel to polish Perspex®
Pros
- Delivers excellent levels of transparency, clarity and gloss
- Delivers the same high quality finish on all colours of Perspex®
Cons
- Requires an investment in equipment and machinery
- Very labour intensive
Final thoughts
As we’ve outlined in this article, Wet and Dry is perhaps the easiest and most accessible method for most end-users to polish Perspex. But as our technicians have shown, Perspex® Diamond Polishing provides the defacto standard when the result you aim to achieve is exceptional transparency, clarity and gloss.
A great benefit of choosing Simply Plastics as your online Perspex® supplier is that all you need do is select the size, colour, and finish of your Perspex® sheet, and we’ll do the rest.
Our free Cut to Size service enables you to purchase a wide range of plastics including Perspex, Polycarbonate and ACM, at the exact dimensions you require, without having to purchase the manufactured sheet size, normally 3m x 2m. Saving you time, money and reducing wastage.
Our Cut to Size optional extras enable you to customise your purchase further with drilled holes, rounded corners and edge polishing.
Furthermore, our industry leading Plastic Fabrication service means you can outsource all of your polishing and Perspex® sheet fabrication requirements, no matter how unique or complex. From our premises in Colchester, we employ a highly skilled team of experienced technicians, able to accommodate long runs, short runs, one-offs and prototypes. Talk to us about the bespoke fabrication services we provide including:
Related FAQs
Sanding, flame polishing and diamond polishing are all viable solutions for removing scratches on Perspex®. One point to be aware of is that diamond polishing removes material i.e. it cuts away a very small amount of material to achieve the polished edge, therefore if you want to remove scratches without affecting the dimensions of the part you should avoid diamond polishing. Another solution for removing light scratches and restoring shine is to use Osborn Unipol Plastic Polish.
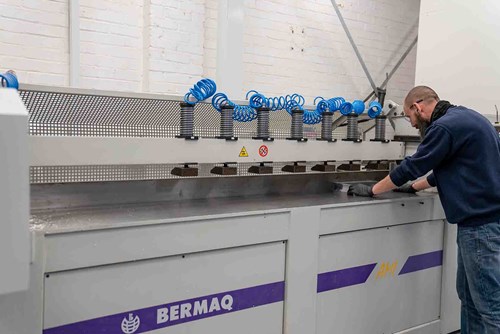
Within our plant we have 2 Bermaq Polishing machines, an AMI with a maximum polishing length of 2.5m plus the added facility to tilt the cutting head to achieve beveled edges and a Bermaq AM2 with a maximum polishing length of 1.25m. We also have three AquaFlame flame polishers. Finally we have a fully restored W Canning buffing/polishing wheel.
The photo below shows our Bermaq AMI being setup to polish a customers order.
The cut to size Perspex sheets and discs that are available to purchase on our website all have the option to have polished edges. We also have a very popular contract polishing service whereby manufacturers send pre-cut Perspex parts to us which we provide a linear meter rate to polish. Contact us for more information on this service.
Both PETg and Polycarbonate are thermoplastics that share some similarities with Perspex®, certainly there are many applications where any of the three materials could be used. Polycarbonate doesn’t react well to flame polishing because the surface being heated tends to bubble and distort whereas PETg reacts remarkably well to the heat from flame polishing and it is possible to achieve similar results to that of Perspex®. Diamond polishing is also possible with both PETg and Polycarbonate provided the right type of cutters are used.
Perspex is used in a vast variety of different ways - it's chemical properties, wide range of colours and finishes, availability and cost, make it the material of choice in applications and industries ranging from home repairs and general DIY through to construction, furniture design, retail displays, signage, lighting and interior design. In the home it can be used to replace broken greenhouse glass panels, as bathroom/kitchen splashbacks or even to replace broken picture frame glass. In commercial environments acrylic mirrors, acrylic block for retail displays and LED diffusers for lighting are commonly used. We stock and supply all of the Perspex product ranges, all of which we can provide cut to size and ready for use.
When we cut an acrylic sheet to size, the saw blade/router toolbit produces a matte finish on the edges of the panel. We use a technique called diamond polishing to polish the edges to a bright, smooth and glossy finish.
Our diamond edge-polishing machine polishes the edge of acrylic by running a rotating, diamond tipped wheel along the edge of the material.
You can read more about the techniques used to polish Perspex® in our blog post, The Ultimate Guide to Polishing Perspex®.
{{content.title}}
{{product.title}}
photo_size_select_smallCut to size
 {{product.colours}} Colours
{{product.description}}
{{product.fromText}}
{{product.fromText}}
Packing: {{product.packingDiagnostics.dimensions}} ({{product.packingDiagnostics.variants.length}})
| {{variant.name}} | {{variant.dimensions}} | {{variant.weight}} |